


DIY GLITTER Iron on applique for Birthday outfit
DIY tutorial for "Small- Medium size" Glitter iron on transfer applique.
This tutorial outlines the steps required to apply iron-on transfer applique onto a cotton shirt. Please note that this tutorial covers iron on transfer onto cotton fabric and is unsuitable on other materials.
Materials
-
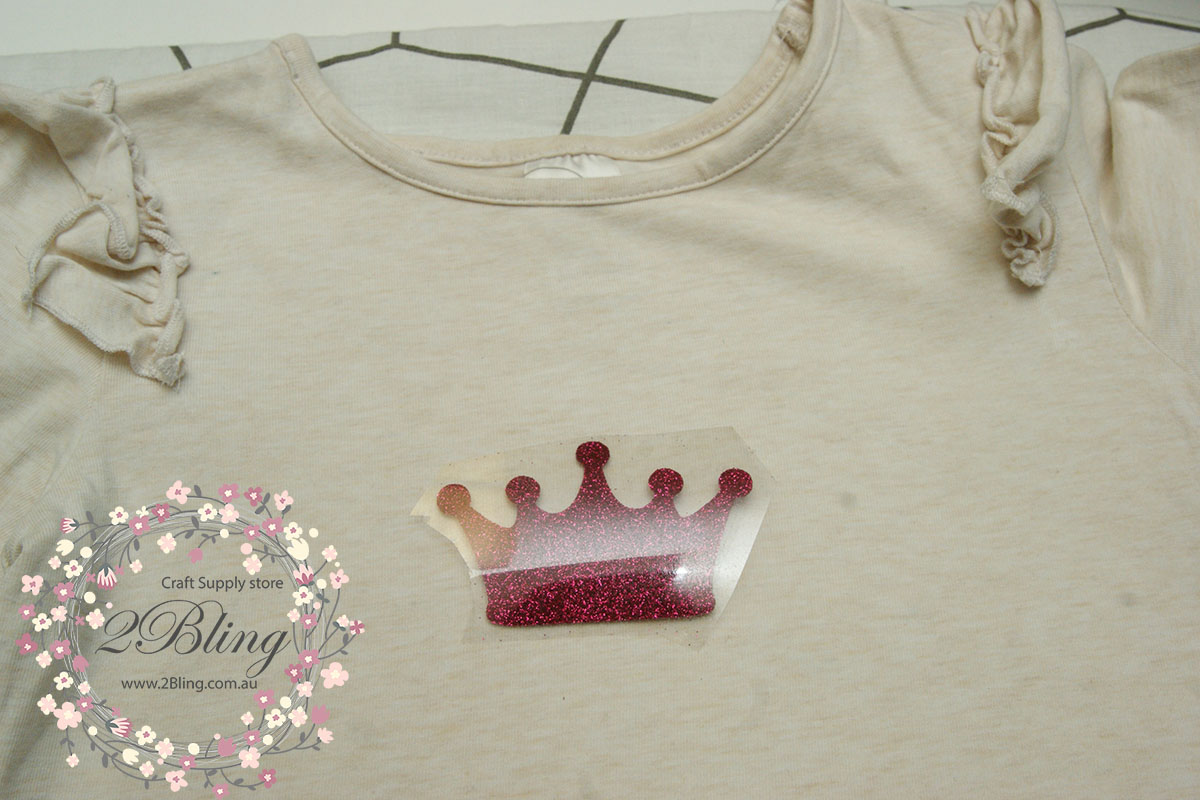
Glitter iron on applique - we are using the glitter crown design in this tutorial. Please note that there is a plastic layer that must stay on the applique until after the ironing step. If you'be accidently removed it, just pop it back on and it should be ok. This stops the applique from sticking onto your iron.
-
Clothes - One of my kids long sleeve cotton shirt (make sure it is cotton).
-
Household iron - Any house hold iron with a working cotton setting. (Turn OFF the steam setting)
-
Large flat area - Allows you to see and correctly position your applique.
Instructions
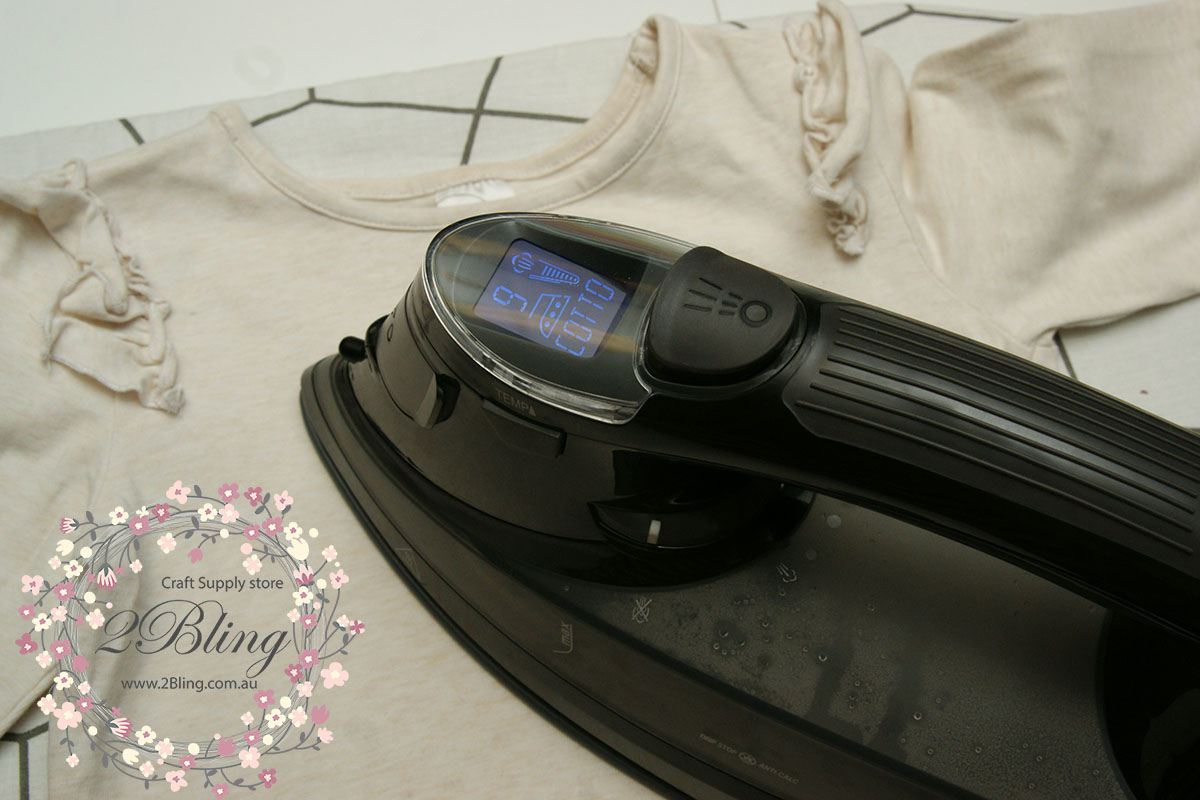
1. Warm up your Iron and set to cotton setting (approximately 160oC). Iron the area of the shirt that you would like to place your design.
This step, while may seem insignificant is the complete opposite. The purpose of this step is to remove moisture in the shirt so that the applique will adhere to the shirt properly.
2. Once it is cool down Position the applique where you would like it to be. Typically it is best to do this on a large flat surface if your ironing board is too small. Allows you to set it in place correctly.
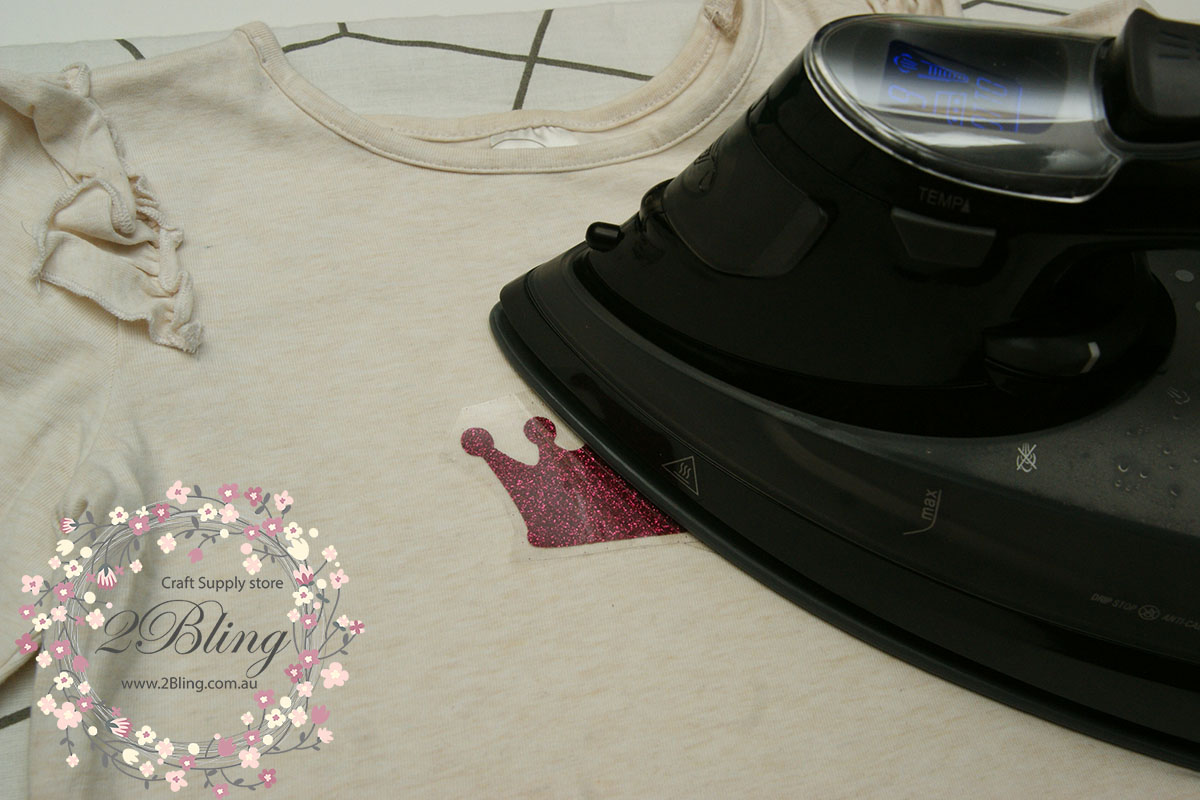
3. Use the iron and go over the applique gently with a small amount of pressure. I typically run a few passes over it, probably around 10 seconds per section. Larger applique may require slightly longer time. Metallic iron on applique is required slightly longer time. You can check after you do the first 10 seconds, if you think that it is required longer time, you can place the plastic on top of the applique and iron it again for a few passes.
Solid iron on, it requires slightly lower temperature and less contact time compared to the glitter/metallic iron on. If the temperature too high or contact time too long, the plastic & iron on will melt.
4. Allow it to cool for 5 - 10 seconds or longer if it is too hot to touch.
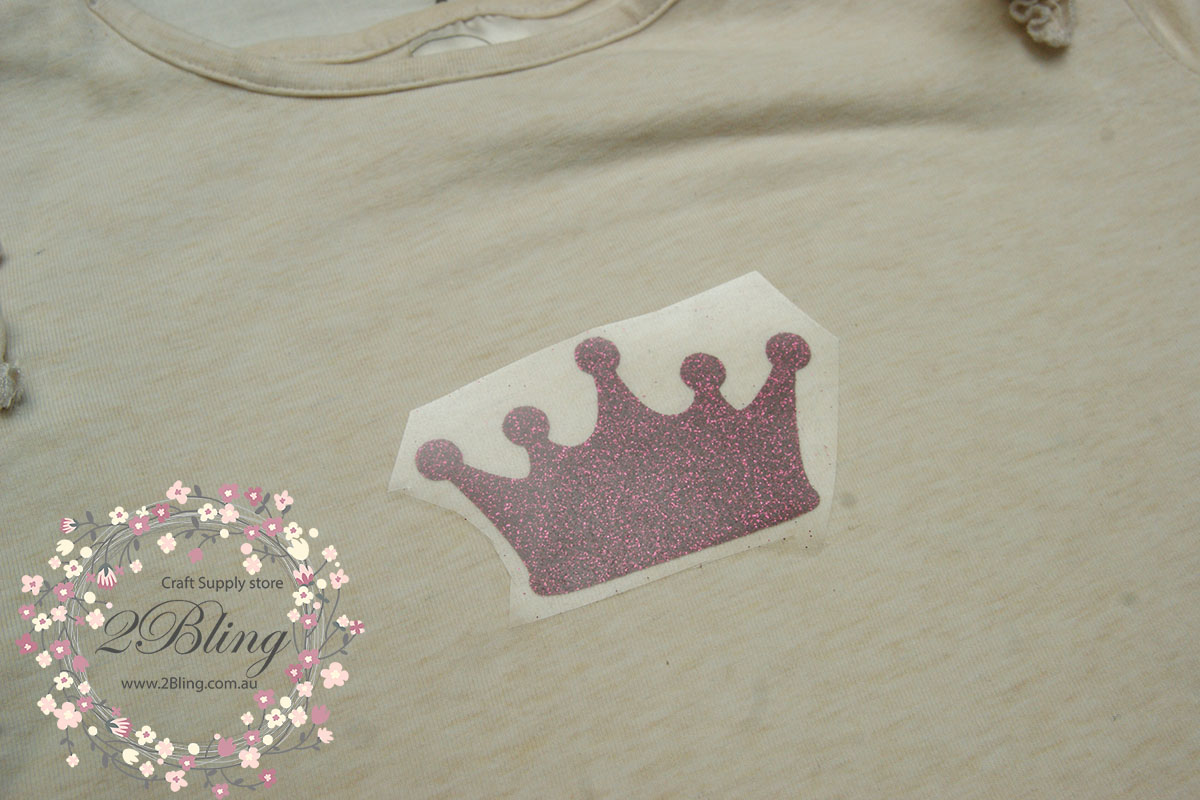
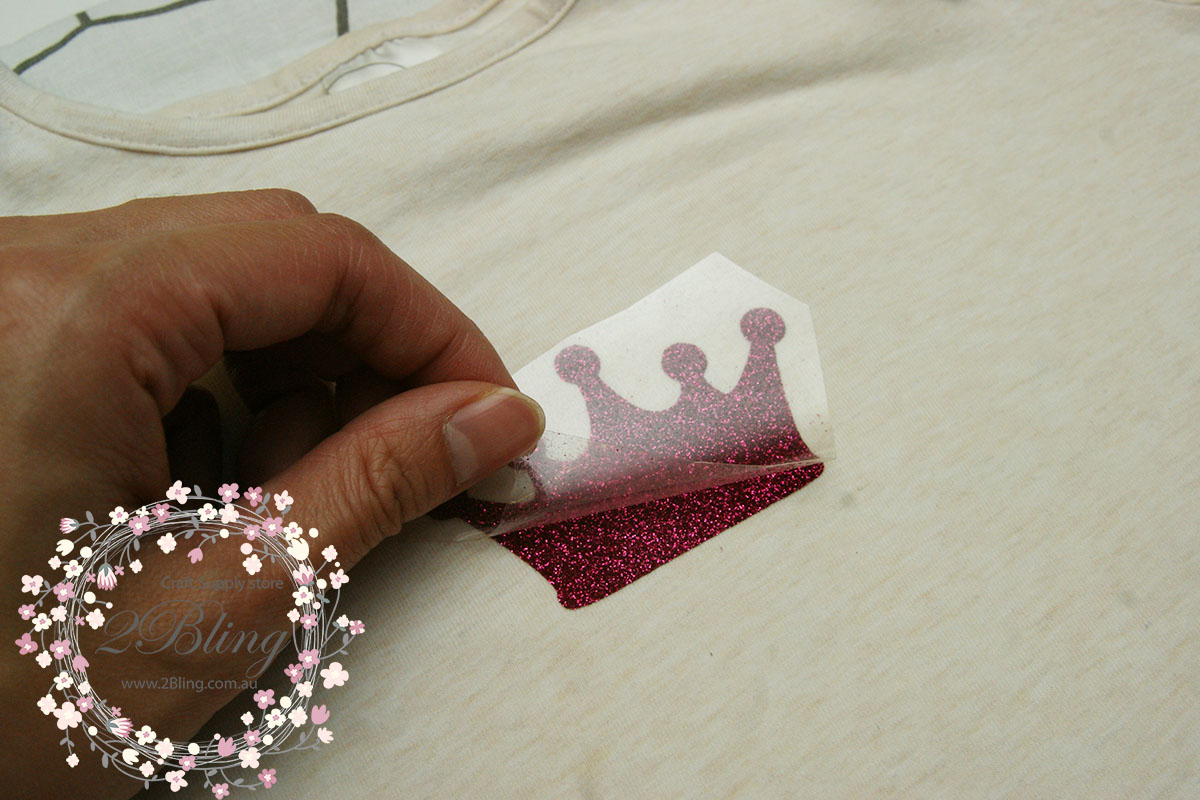
5. Peeling the plastic layer. Carefully peeling off the plastic layer.
6. You can iron (inside out), to strengthen the iron on transfer.
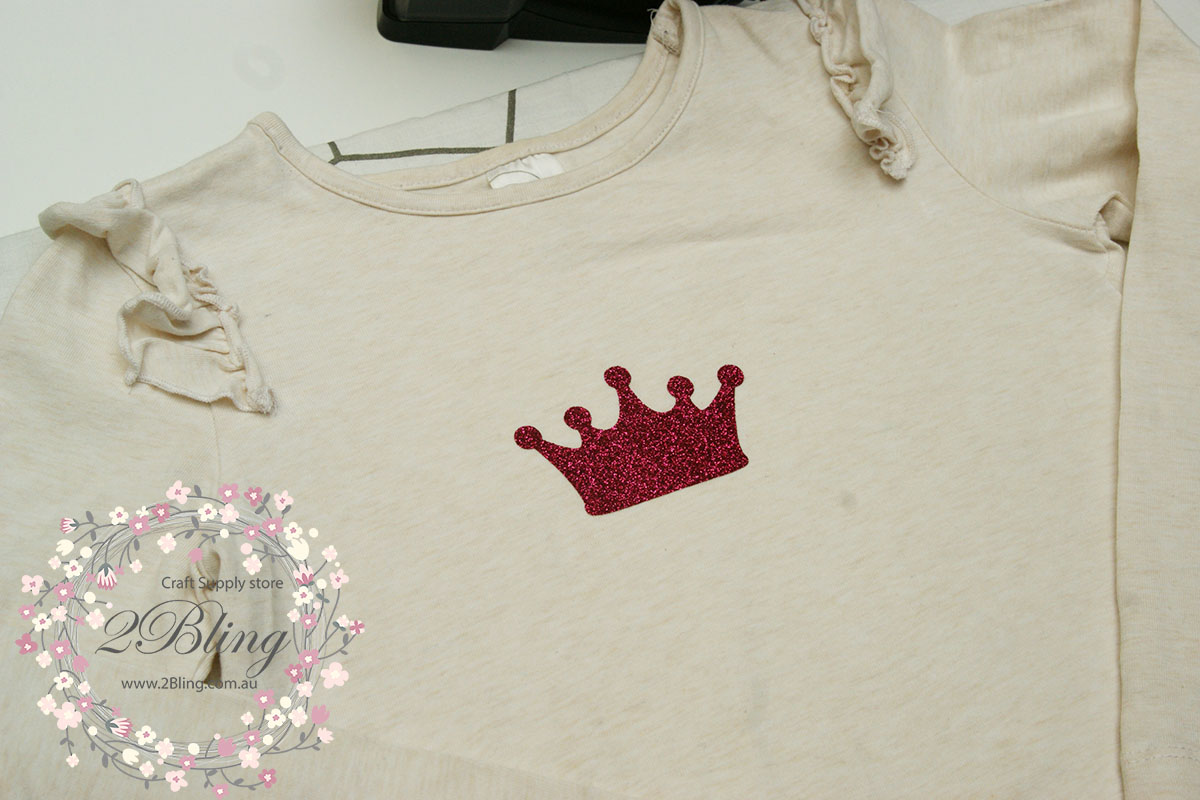
6. Standback and marvel at your 'New' shirt, gives it a second lease of life. NOTE: For washing purpose please wash at low temerature, in order to protect the applique.
Washing Instruction:
- The garment is required to be washed (inside out) at low temperature and dry in the shade.
- You can do handwash or washing machine (place the clothes in laundry bag, gentle cycle, cold wash only)
- Do not use clothes dryer.
Problem Solving:
- What about if the applique come off from the plastic backing?
Applications: Try to place the applique back to the plastic, position it to the garment, place backing paper on top of the plastic, and iron it
- What about if the applique doesnt stick to the garment during the first application?
Place the baking paper on top of the applique, and iron on that particular section.


